Moving your website to a new host can feel like a high-stakes operation, but it doesn't have to be. A successful migration is all about meticulous planning and execution. Get one step wrong, and you risk costly downtime, critical data loss, or a significant, long-term drop in search engine rankings that can harm your business. This comprehensive website migration checklist is designed to eliminate guesswork and prevent common pitfalls, breaking down the entire process into manageable, chronological steps.
From initial pre-migration audits to final post-launch monitoring, we'll guide you through every essential task. This ensures your transition to a faster, more secure hosting environment is as smooth and efficient as possible. Following this structured plan helps protect your SEO equity, maintain user experience, and secure your digital assets throughout the move. Whether you're a small UK business upgrading your WooCommerce store, a blogger seeking better performance, or a digital agency managing multiple client sites, this guide provides the clarity you need.
For particularly complex migrations, or if you simply prefer professional assistance to ensure a flawless transition, exploring a dedicated migration service can significantly ease the process and provide peace of mind. Otherwise, let’s dive into the 10 critical steps that will make your website move a definitive success.
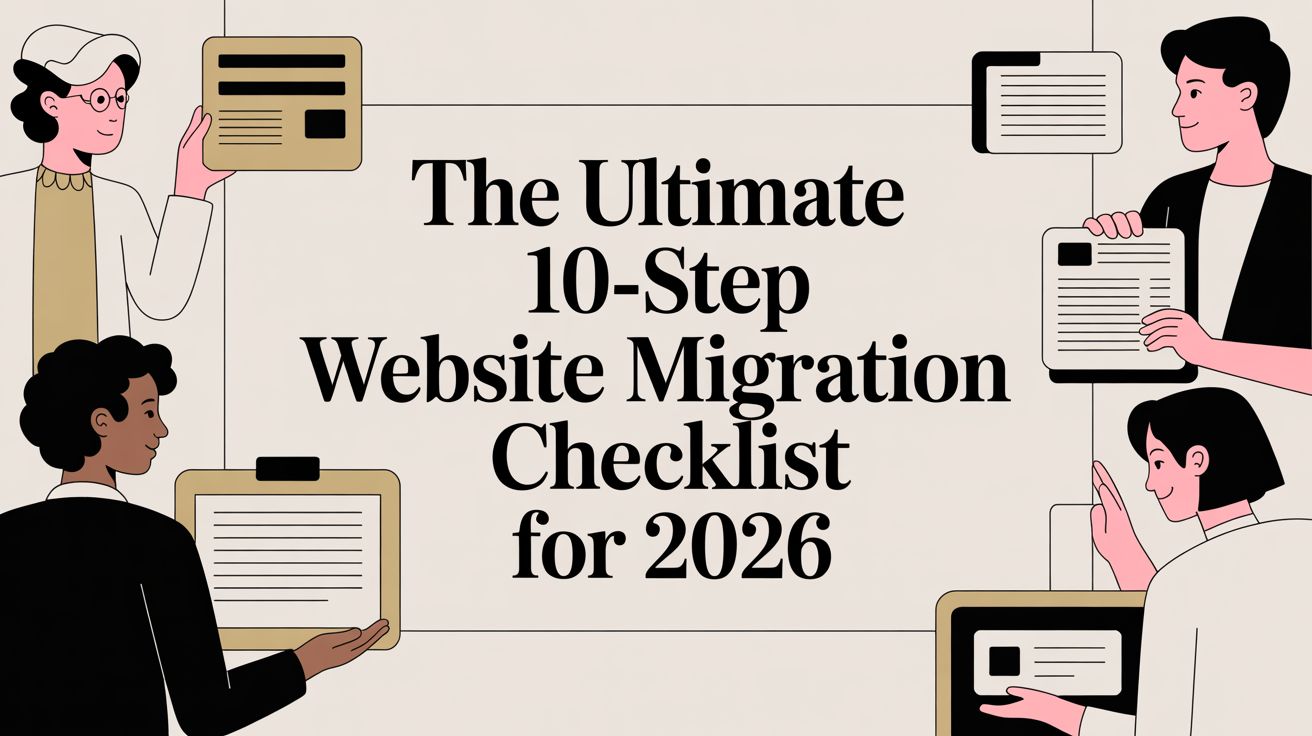
1. Pre-Migration Audit and Planning
The first, and arguably most critical, item on any website migration checklist is the pre-migration audit and planning phase. This foundational step involves a meticulous assessment of your entire existing website ecosystem before you move a single file. It’s about creating a detailed blueprint of your current setup to anticipate challenges, prevent data loss, and ensure a seamless transition to a new hosting environment. This audit is your roadmap, highlighting potential roadblocks and defining the project's scope.
This process involves documenting every component of your WordPress installation, from the server environment and PHP version to the active themes and plugins. By creating an inventory, you can identify potential compatibility issues with the new host, such as outdated plugins that won’t function on a newer version of PHP. This proactive approach prevents the common migration pitfalls of a broken site or lost functionality post-launch.
Example Scenario: E-commerce Store Discovers Plugin Bloat
A small UK-based e-commerce store running WooCommerce decided to migrate to a faster, managed hosting platform. During their pre-migration audit, they discovered their site had 47 active plugins, many of which were outdated, redundant, or no longer supported. This audit revealed a significant security risk and performance bottleneck. They were able to create a plan to update critical plugins, remove unnecessary ones, and find modern replacements for abandoned software, significantly streamlining their site before the migration even began.
Actionable Tips for Your Audit
- Document Everything: Create a comprehensive spreadsheet listing all plugins, themes, custom code snippets, user roles, and core WordPress settings. Note their versions and last update dates.
- Analyse Dependencies: Identify plugins that rely on one another to function. For example, a WooCommerce extensions that requires a specific booking plugin.
- Record Resource Usage: Note your current database size, monthly traffic volume, and disk space usage. This data is vital for choosing the right hosting plan and ensuring your new environment has adequate capacity.
- Screenshot Critical Settings: Take screenshots of your theme options, plugin configurations, and WordPress general settings. These visual records are invaluable if you need to reconfigure anything manually.
2. DNS and Domain Management Setup
The second crucial item in your website migration checklist is the DNS and domain management setup. This technical step is the digital equivalent of updating your address with the post office; it involves telling the internet where to find your website at its new home. This process is about precisely configuring DNS records, such as A, CNAME, and MX records, to point your domain name from your old hosting server to your new one. Getting this right is fundamental to minimising downtime and ensuring a smooth cutover.
Proper DNS management ensures that when users type your website's address into their browser, they are directed to the new server seamlessly. This phase also covers configuring mail exchange (MX) records to maintain email delivery and validating SSL certificates on the new server. A well-planned DNS update is the key to making the final switch feel instantaneous to your visitors, preventing lost traffic and sales.
Example Scenario: Boutique Retailer Minimises Downtime
A UK-based boutique retailer was migrating their WooCommerce store to a more robust platform. Aware that any downtime would directly impact sales, their migration plan focused on DNS management. Twenty-four hours before the scheduled migration, they lowered the Time To Live (TTL) value on their primary A record from the standard 14,400 seconds (4 hours) to just 600 seconds (10 minutes). When it was time to go live, the DNS change propagated across the internet far more quickly, resulting in a successful switch in under an hour instead of the potential 24-48 hours.
Actionable Tips for DNS Management
- Lower TTL Values in Advance: At least 24 hours before your planned migration, lower the TTL on your key DNS records. This reduces caching time and speeds up propagation when you make the final switch.
- Verify MX Records: Double-check that your MX records are correctly configured to point to your email provider (e.g., Google Workspace, Microsoft 365). This prevents email service interruptions during the migration.
- Use DNS Propagation Checkers: After making changes, use free online tools like whatsmydns.net to monitor how the new DNS records are propagating across global servers.
- Schedule During Off-Peak Hours: Plan the final DNS switch for a period of low traffic, such as late at night or over a weekend, to minimise the impact on your users. This is a critical part of any comprehensive website migration checklist.
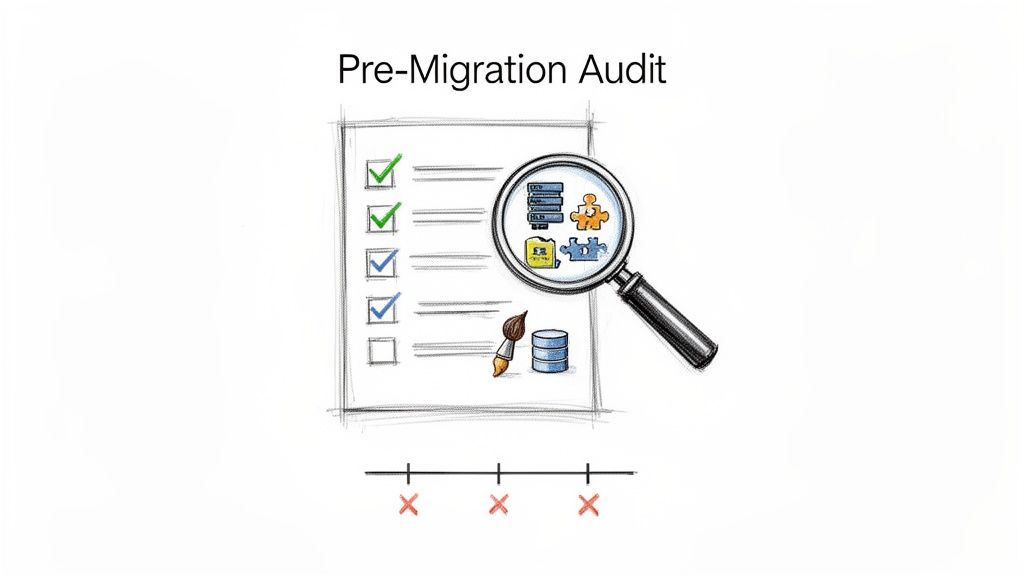
3. Full Database Backup and Export
With your audit complete, the next non-negotiable item on your website migration checklist is performing a full backup of your WordPress database. This step is your ultimate safety net, creating a complete and portable copy of everything that makes your site unique: all posts, pages, user accounts, comments, plugin settings, and theme customisations. Exporting this data into a standard format, typically a .sql file, ensures you can restore your site perfectly in the new environment should anything go wrong.
The database is the brain of your WordPress site. Migrating without a verified, recent backup is like moving house without insuring your valuables; it’s a risk that is simply not worth taking. This backup is your rollback point, allowing you to quickly revert to a known-good state if the migration introduces errors, data corruption, or compatibility problems. Vivihosting’s backup strategy, for instance, offers daily, weekly, and monthly options to provide multiple restore points for peace of mind.
Example Scenario: E-commerce Store Averts Disaster
An online retailer with a large WooCommerce database of over 500GB was migrating to Vivihosting for better performance. They used the WP-CLI command wp db export to create a fast, reliable backup right before the migration. During the initial import, a network glitch corrupted a few key tables. Because they had a pristine backup, they were able to truncate the faulty database and restore the full, verified backup in just 45 minutes, avoiding any data loss or extended downtime.
Actionable Tips for Your Backup
- Backup Immediately Before Migrating: Perform your final database export right before you begin the migration process to ensure you capture the most recent orders, comments, and changes.
- Test Your Backup: Before moving to the new server, test the restoration process on a staging or local environment to confirm the backup file is not corrupt and can be imported successfully.
- Use WP-CLI for Large Databases: For sites with large databases, using the command line interface with
wp db exportis significantly faster and more reliable than browser-based tools like phpMyAdmin, which can time out. - Store Backups Securely: Do not rely on a single copy. Store your database backup in at least three locations: on your local computer, in a cloud storage service like Dropbox or Google Drive, and within your hosting account. For a detailed guide, you can learn how to back up your WordPress site with our comprehensive tutorial.
4. File System Migration and Uploads Directory Transfer
Once your staging environment is ready, the next step in the website migration checklist is to transfer your entire file system. This process involves copying every file and folder that constitutes your website, from the WordPress core files, themes, and plugins to your invaluable uploads directory. This directory contains all your media assets, such as images, videos, and documents, making its successful transfer crucial for maintaining your site's visual integrity and content.
Correctly migrating the file system ensures that all functionalities, customisations, and media assets appear and work on the new server exactly as they did on the old one. A failure at this stage can lead to a broken site, missing images, and plugin malfunctions. Therefore, this step requires careful execution to guarantee a complete and accurate replication of your site's file structure.
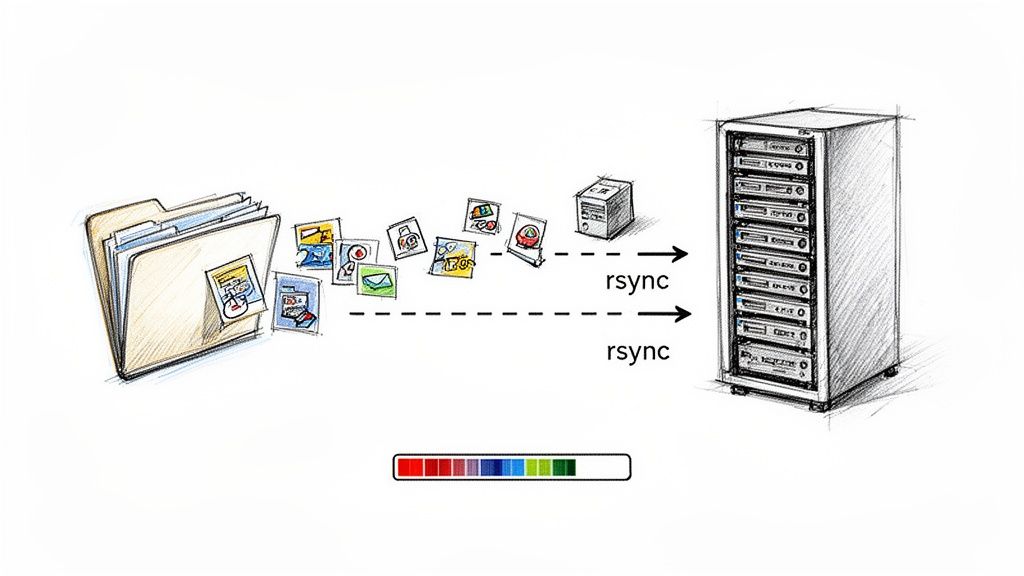
Example Scenario: Content Creator Blog with a Large Media Library
A popular UK food blogger with over 50,000 high-resolution images in their media library needed to move to a more powerful server. Manually downloading and re-uploading via FTP was impractical and prone to errors. Instead, they used the rsync command-line tool to synchronise the entire /wp-content/uploads directory directly between the old and new servers. This method was not only faster but also allowed them to perform an incremental sync just before going live, ensuring no new uploads were missed.
Actionable Tips for Your File Transfer
- Prioritise Security: Always use SFTP (Secure File Transfer Protocol) or SSH over standard FTP. FTP transmits credentials in plain text, which is a major security risk.
- Compress Large Directories: Before transferring, compress your entire website directory into a single
.zipor.tar.gzfile. This significantly speeds up the transfer process and reduces the chance of file corruption. - Use
rsyncfor Efficiency: For large sites,rsyncis a powerful tool that can synchronise directories between two servers. It's particularly useful for updating the destination with only the changed files, saving time on the final sync. - Verify File Integrity: After the transfer is complete, check that the total file count and directory size on the new server match the original. This helps confirm that no files were missed or corrupted.
- Set Correct Permissions: Once files are on the new server, ensure directory permissions are set to
755and file permissions to644. Incorrect permissions are a common cause of site errors and security vulnerabilities.
5. WordPress Configuration and wp-config.php Updates
The fifth item on your website migration checklist involves updating the core configuration file, wp-config.php. This file is the bridge between your WordPress files and your database, containing critical settings like database credentials, security salts, and server-specific instructions. Getting this step right is non-negotiable, as an incorrect configuration will prevent your website from loading, typically resulting in an "Error Establishing a Database Connection" message.
When you move your site to a new server, the old database name, username, password, and host (often localhost) will no longer be valid. The wp-config.php file must be meticulously edited with the new credentials provided by your hosting provider. This update allows WordPress to connect to its new database and function correctly in the new environment, ensuring data integrity and site security are maintained throughout the transition.
Example Scenario: E-commerce Store Prevents Performance Issues
A growing WooCommerce store in Manchester was migrating to a more robust virtual private server (VPS) to handle increased traffic. Post-migration, they noticed slow backend performance and occasional errors when processing large orders. By editing their wp-config.php file, they increased the WP_MEMORY_LIMIT from the default 128MB to 512MB. This simple change allocated more resources to PHP, instantly resolving the performance bottlenecks and allowing their inventory management plugins to operate smoothly without crashing.
Actionable Tips for Your Configuration
- Backup First: Always create a backup copy of your original
wp-config.phpfile before making any changes. This provides a quick way to restore the original settings if something goes wrong. - Use New Credentials: Obtain the new database name, username, password, and database host from your new hosting provider's control panel and update these values carefully in the file.
- Generate New Security Salts: For enhanced security, generate a new set of authentication keys and salts from the official WordPress secret-key service and replace the old ones.
- Adjust Memory Limits: If your website is resource-intensive (e.g., running WooCommerce or many plugins), consider increasing the memory limit by adding
define('WP_MEMORY_LIMIT', '256M');to the file. - Manage Debugging: Ensure
WP_DEBUGis set tofalseon the live site to prevent displaying potentially sensitive error messages to visitors. Set it totrueonly on a staging environment for troubleshooting.
6. Search and Replace Database Content (URLs and Paths)
A critical, yet often overlooked, step in any website migration checklist is performing a comprehensive search and replace on the database. This process involves systematically updating all hardcoded URLs and server file paths stored within your WordPress database to reflect the new domain or server environment. Simply migrating the files isn't enough; your database contains thousands of references to the old location in post content, settings, and metadata that must be corrected for the site to function properly.
Without this step, your website will be riddled with broken images, faulty internal links, and dysfunctional plugins. A proper search and replace operation ensures that every asset, from images embedded in posts to links in your navigation menus, points to the correct new address. It's a non-negotiable task for preventing mixed-content warnings, 404 errors, and a poor user experience post-migration.
Example Scenario: UK Business Rebrands Seamlessly
A UK-based consultancy firm migrated from old-business.co.uk to a new brand identity at new-brand.co.uk. After moving the files, they used a database search and replace tool. The process identified and updated over 12,000 instances of the old URL across their wp_posts, wp_postmeta, and wp_options tables. This single action ensured all internal links, image sources, and plugin settings were instantly corrected, allowing them to launch their new brand without any broken pathways.
Actionable Tips for Search and Replace
- Always Backup First: Before running any database operations, create a complete, verified backup. This is your safety net if anything goes wrong.
- Use a Specialised Tool: Avoid manual SQL queries. Use a dedicated plugin like Better Search Replace or the command-line interface tool WP-CLI (
wp search-replace 'old.com' 'new.com') as they correctly handle serialised data. - Run a 'Dry Run': Most tools offer a "dry run" option. Use it to preview how many changes will be made without actually modifying the database, helping you catch potential errors.
- Check All Variations: Perform separate search and replace operations for different URL versions, such as
http://,https://,www., and non-wwwto ensure comprehensive coverage. - Verify Critical Tables: Pay special attention to the
wp_optionstable, which often contains hardcoded URLs for your site's home and site address, as well as plugin-specific settings.
7. Plugin and Theme Compatibility Testing and Activation
Once your website files and database are on the staging server, the next crucial step in your website migration checklist is to methodically test every plugin and theme. This phase involves verifying that all extensions function correctly in the new hosting environment. It’s about more than just seeing if the site loads; it's a deep dive into compatibility with the new server's PHP version, database configuration, and other server-level settings to prevent post-launch surprises.
This process requires you to selectively activate and test each component in your isolated staging environment. By doing so, you can pinpoint conflicts, JavaScript errors, or fatal errors caused by incompatibilities. Identifying these issues before the final DNS switch-over allows you to find updates, seek alternative plugins, or engage a developer to patch the problem, ensuring all functionality works as expected from the moment your site goes live on the new server.
Example Scenario: E-commerce Store Avoids Payment Gateway Failure
A UK-based online shop using WooCommerce discovered during staging tests that their Stripe payment gateway plugin was incompatible with the new server’s PHP 8.1 environment. This caused a critical error during checkout, which would have resulted in catastrophic revenue loss if it had happened on the live site. By identifying this during the compatibility testing phase, they were able to update the plugin to a compatible version and thoroughly test the entire checkout flow, preventing any disruption to sales post-migration.
Actionable Tips for Compatibility Testing
- Test One by One: Activate plugins individually on your staging site. This helps you immediately identify which one is causing a conflict or error.
- Check PHP Version Requirements: Review each plugin’s documentation to confirm its required PHP version and compare it against your new server’s configuration.
- Inspect the Browser Console: Use your browser's developer tools (F12 key) to check the console for JavaScript errors on key pages, as these often indicate plugin or theme conflicts.
- Test All User Roles: Log in as different user types (e.g., Administrator, Editor, Customer) to ensure permissions and functionality work correctly for everyone.
- Purge Inactive Plugins: Before migrating, permanently delete any plugins that are disabled and unused. This reduces your attack surface and simplifies the testing process.
8. SSL Certificate Installation and HTTPS Configuration
Ensuring your website is secure is a non-negotiable step in any modern website migration checklist. This involves installing an SSL/TLS certificate on your new server and meticulously configuring your WordPress site to use HTTPS exclusively. This process secures the data exchanged between your users and your server, building trust and positively impacting your SEO rankings. Getting this right prevents security warnings that could deter visitors and harm your brand's reputation.
The process begins with obtaining and installing the SSL certificate on the new hosting environment. Once installed, you must update your WordPress Address (URL) and Site Address (URL) in the settings to use the https:// prefix. This is followed by implementing a server-level or plugin-based redirect to force all insecure http:// traffic to the secure https:// version, ensuring a single, canonical version of your site is accessible.
Example Scenario: Law Firm Builds Client Trust
A small UK-based law firm migrated to a new managed WordPress host. During the migration, their web developer installed a free Let's Encrypt certificate provided by the host. By enforcing HTTPS across their entire site, they immediately displayed a secure padlock icon in visitors' browsers. This small but crucial change enhanced the firm's professional image and provided new clients with the confidence to submit sensitive information through their online contact forms.
Actionable Tips for SSL and HTTPS
- Update WordPress Settings: In your WordPress dashboard, navigate to Settings > General and ensure both the "WordPress Address (URL)" and "Site Address (URL)" begin with
https://. - Force HTTPS Redirection: Use a plugin like Really Simple SSL or add rules to your
.htaccessfile to automatically redirect all HTTP traffic to HTTPS. - Fix Mixed Content Errors: After enabling HTTPS, use your browser's developer tools to identify and fix "mixed content" warnings by replacing any
http://resource links (images, scripts) withhttps://. - Test Your Configuration: Use a free online tool like SSL Labs' SSL Server Test to analyse your SSL certificate installation and identify any configuration weaknesses.
- Update External Links: Don't forget to update your company's social media profiles, email signatures, and Google Business Profile to point to the new
https://version of your website.
9. Email Configuration and Forwarding Setup
A frequently overlooked yet critical part of any website migration checklist is the setup of email services. When you change hosts, your email routing (MX records) will also need updating, and failure to plan for this can lead to lost enquiries, broken communication, and a loss of professional credibility. This step involves creating email accounts, configuring spam filters, and establishing forwarding rules on the new server to ensure uninterrupted business communication.
Before pointing your domain to the new server, you must replicate your existing email setup. This includes creating all necessary mailboxes (like info@, sales@, and support@), setting up any aliases, and configuring auto-responders. Properly managing this transition ensures that from the moment your DNS updates, your team can send and receive emails without any downtime, maintaining business continuity and customer trust.
Example Scenario: E-commerce Store Ensures Seamless Communication
A UK-based online retailer migrating to a new managed hosting provider relied heavily on their professional domain emails for customer support and supplier communications. Before the migration, they created five key email accounts (support@, orders@, returns@, etc.) on the new host. They also configured email forwarders for key staff members to receive copies on their personal Gmail accounts as a backup, ensuring no message was ever missed during the DNS propagation period.
Actionable Tips for Email Configuration
- Configure Authentication Records: Immediately set up SPF, DKIM, and DMARC records in your DNS settings. These records are vital for authenticating your emails and preventing them from being marked as spam.
- Test Sending and Receiving: Before announcing the migration is complete, send test emails from your new accounts to external addresses (like Gmail or Outlook) and reply to them to confirm two-way communication is working correctly.
- Migrate Old Emails: Use an IMAP migration tool to transfer existing emails from the old server to the new one. This preserves historical correspondence for your records.
- Secure Your Accounts: Enforce strong, unique passwords for every email account and enable two-factor authentication (2FA) if your hosting provider supports it to prevent unauthorised access.
10. Site Testing, Performance Validation, Quality Assurance, and Go-Live Coordination
The final phase before your new site is live to the public is rigorous testing and a meticulously planned go-live sequence. This step in the website migration checklist is your last line of defence against errors, downtime, and a poor user experience. It involves a comprehensive quality assurance (QA) process on the staged site, validating its performance against benchmarks, and coordinating the final DNS switchover with military precision. This isn't just about flipping a switch; it's a controlled launch designed to minimise risk and ensure a seamless transition for your visitors.
Thorough testing confirms that all functionalities, from contact forms to the entire checkout process, work flawlessly in the new environment. Performance validation ensures the migration has achieved its speed and stability goals. A well-coordinated go-live, typically scheduled during low-traffic hours, guarantees minimal disruption. This combined effort is what separates a chaotic launch from a successful one.
Example Scenario: E-commerce Site Achieves Zero-Downtime Go-Live
A UK-based online retailer planned their go-live for 2 AM on a Tuesday, their quietest period. Their QA checklist included testing the full purchase journey on Chrome, Safari, and Firefox across desktop and mobile. Performance tests with GTmetrix confirmed their page load times improved from 4.2 seconds to 1.8 seconds on their new UK-based Vivihosting servers. The team executed the DNS switch in under 30 minutes, with a dedicated engineer monitoring server logs in real-time. The result was a flawless transition with zero customer impact and a tangible boost in site speed.
Actionable Tips for Testing and Go-Live
- Create a Detailed QA Checklist: Document every function to be tested, including user registration, contact forms, search functionality, and the complete e-commerce checkout process.
- Test Across Environments: Verify site appearance and functionality on major browsers (Chrome, Firefox, Safari) and devices (desktop, tablet, mobile).
- Validate Performance: Use tools like GTmetrix or PageSpeed Insights to compare pre and post-migration load times. For more in-depth analysis, explore various performance load testing tools to simulate real user traffic.
- Schedule Go-Live Strategically: Choose an off-peak time, such as early morning or late evening in the UK, to minimise potential disruption to your users.
- Prepare for Rollback: Have a clear, documented plan to revert to the old site if critical issues arise. Keep the old hosting active for at least 24-48 hours as a safety net.
- Monitor Post-Launch: Actively watch server logs, Google Analytics real-time traffic, and error rates immediately after the switch. Proper monitoring ensures you can improve your SEO rankings with a technically sound site from day one.
10-Step Website Migration Checklist Comparison
| Task | Complexity 🔄 | Resources & time ⚡ | Expected outcomes 📊⭐ | Ideal use cases 💡 | Key advantages ⭐ |
|---|---|---|---|---|---|
| Pre-Migration Audit and Planning | High — multi-step technical review 🔄 | Technical expertise, access to hosting, several hours–days ⚡ | Identifies risks, performance baseline, migration roadmap 📊⭐ | Complex sites, multisite, heavy custom code 💡 | Reduces downtime, enables accurate planning ⭐ |
| DNS and Domain Management Setup | Medium — registrar & DNS coordination 🔄 | DNS access, TTL changes, monitoring for hours–48h ⚡ | Seamless switchover, email continuity, rollback ability 📊⭐ | Host switches, domain or MX changes 💡 | Enables parallel servers and quick rollback ⭐ |
| Full Database Backup and Export | Medium — size-dependent export 🔄 | Storage, secure handling, tools (phpMyAdmin/WP-CLI), time varies ⚡ | Complete restore points, disaster recovery, staging safety 📊⭐ | All migrations, especially data‑heavy/ecommerce sites 💡 | Protects data; enables safe testing and rollback ⭐ |
| File System Migration & Uploads Transfer | High — large data transfer & permissions 🔄 | Bandwidth, SFTP/rsync access, time for large media ⚡ | Full file replication, preserved media and custom code 📊⭐ | Sites with large media libraries or custom themes/plugins 💡 | Maintains file integrity and structure ⭐ |
| WordPress Configuration & wp-config.php Updates | Medium — config and secrets updates 🔄 | File system access, DB creds, staging checks, short time ⚡ | DB connectivity, regenerated keys, env-specific tuning 📊⭐ | Any migration requiring new DB/host settings 💡 | Ensures site boots securely and performs well ⭐ |
| Search & Replace Database Content (URLs/Paths) | High — serialized data risks 🔄 | DB access, WP‑CLI/tools, backups, careful testing ⚡ | Corrected URLs/paths, HTTPS consistency, working embeds 📊⭐ | Domain changes, HTTP→HTTPS, path restructures 💡 | Fixes hardcoded links sitewide; prevents broken content ⭐ |
| Plugin & Theme Compatibility Testing & Activation | High — many permutations to test 🔄 | Staging environment, QA time, developer fixes ⚡ | Resolved conflicts, verified functionality, optimized performance 📊⭐ | Sites with many plugins, custom themes, ecommerce 💡 | Prevents post-launch breakage; improves stability ⭐ |
| SSL Certificate Installation & HTTPS Configuration | Low–Medium — cert + mixed content fixes 🔄 | Certificate provisioning, mixed-content remediation, testing ⚡ | Encrypted site, SEO boost, visitor trust and compliance 📊⭐ | All public sites, ecommerce, login portals 💡 | Improves security, SEO, and user trust ⭐ |
| Email Configuration & Forwarding Setup | Medium — MX/DNS + mailbox migration 🔄 | MX/TXT DNS changes, mailbox setup, migration tools, time ⚡ | Email continuity, improved deliverability, SPF/DKIM in place 📊⭐ | Businesses relying on branded email and teams 💡 | Protects business communication and brand reputation ⭐ |
| Site Testing, Performance Validation, QA & Go‑Live | Very high — coordinated multi-tool QA 🔄 | Monitoring tools, cross‑device testing, team on standby, hours–days ⚡ | Validated performance, secure go‑live, rapid rollback capability 📊⭐ | High‑traffic, SLA or ecommerce sites, launches requiring uptime 💡 | Minimizes downtime, ensures user experience, proactive monitoring ⭐ |
Your Migration is Complete. What's Next?
Congratulations, you've made it to the other side of your website migration. By meticulously working through this comprehensive website migration checklist, you have successfully navigated one of the most technically demanding tasks in website management. Your site is now live in its new environment, poised for better performance, enhanced security, and greater scalability. However, launching the site is not the final step; it is the beginning of a new chapter. The immediate post-launch period is critical for cementing your success and capitalising on the benefits of your new hosting.
The journey from pre-migration audit to final quality assurance checks is complex. You’ve organised DNS records, backed up critical data, meticulously updated your database, and verified every plugin and theme. You've established robust 301 redirects, configured your SSL certificate, and tested every form and user pathway. This wasn't just a technical exercise; it was a strategic investment in your website's future health and performance. The diligence you've shown in following this checklist will pay dividends by preventing common migration pitfalls such as broken links, lost SEO rankings, and poor user experience.
Solidifying Your Gains: Post-Migration Priorities
Now that the heavy lifting is done, your focus must shift from execution to observation and optimisation. The first few weeks are your opportunity to ensure the foundation you've built is truly solid. Think of this phase as a "settling-in" period where you actively monitor, tweak, and refine.
Here are the crucial next steps to prioritise:
- Intensive SEO Monitoring: Your top priority is to protect your search engine rankings. Use tools like Google Search Console and Ahrefs to watch for any spike in 404 errors, crawl anomalies, or drops in keyword positions. Verify that your new XML sitemap has been submitted and is being indexed correctly. Double-check that canonical tags are pointing to the correct live URLs and not staging or old domain addresses.
- Performance Benchmarking: Your new hosting environment was likely chosen for its superior speed. Now is the time to prove it. Run performance tests using tools like GTmetrix or PageSpeed Insights and compare the results against your pre-migration benchmarks. Pay close attention to Core Web Vitals (LCP, FID, CLS) as these directly impact user experience and SEO. If performance isn’t where you expect it to be, investigate potential causes like unoptimised images or plugin conflicts.
- Backup and Security Verification: Do not assume your new backup systems are working flawlessly. Manually initiate a backup and, more importantly, perform a test restoration on a staging environment. This confirms the integrity of your backups. Similarly, confirm that your security plugins, firewalls, and malware scanners are fully operational and correctly configured for the new server environment.
- User Feedback and Functionality Checks: Automated tests are essential, but they can't replicate every human interaction. Encourage your team or a small group of trusted users to browse the site, test contact forms, complete a purchase, and interact with dynamic elements. This real-world feedback is invaluable for catching subtle bugs that automated tools might miss.
Mastering the post-migration phase is what separates a good migration from a great one. It transforms the technical success of the move into a tangible business advantage. By remaining vigilant, you ensure your website not only survives the transition but thrives because of it. This structured approach, rooted in the detailed steps of a website migration checklist, guarantees that your digital presence continues to be a powerful asset for your business, free from the technical debt and performance issues that can plague a poorly managed move.
Tired of managing the complexities of website migrations and ongoing maintenance yourself? At Vivihosting, we handle the entire process for you with our free, expert-led migration service. We ensure a seamless transition to our optimised WordPress platform, so you can focus on growing your business, not managing your server. Discover hassle-free hosting with Vivihosting today.